Processing ⇔ Arduino

This example will show you how to send and receive data from Arduino and Processing.
The Processing sketch changes background color when the tilt switch is activated. It sends data to Arduino when the mouse button is clicked.
The Arduino sketch turns on an LED when the mouse button is clicked in the Processing sketch. It sends data to Processing when tilted.
Components
- Arduino Uno
- 4 wires
- 10K Ohm resistor
- tilt ball switch
- LED
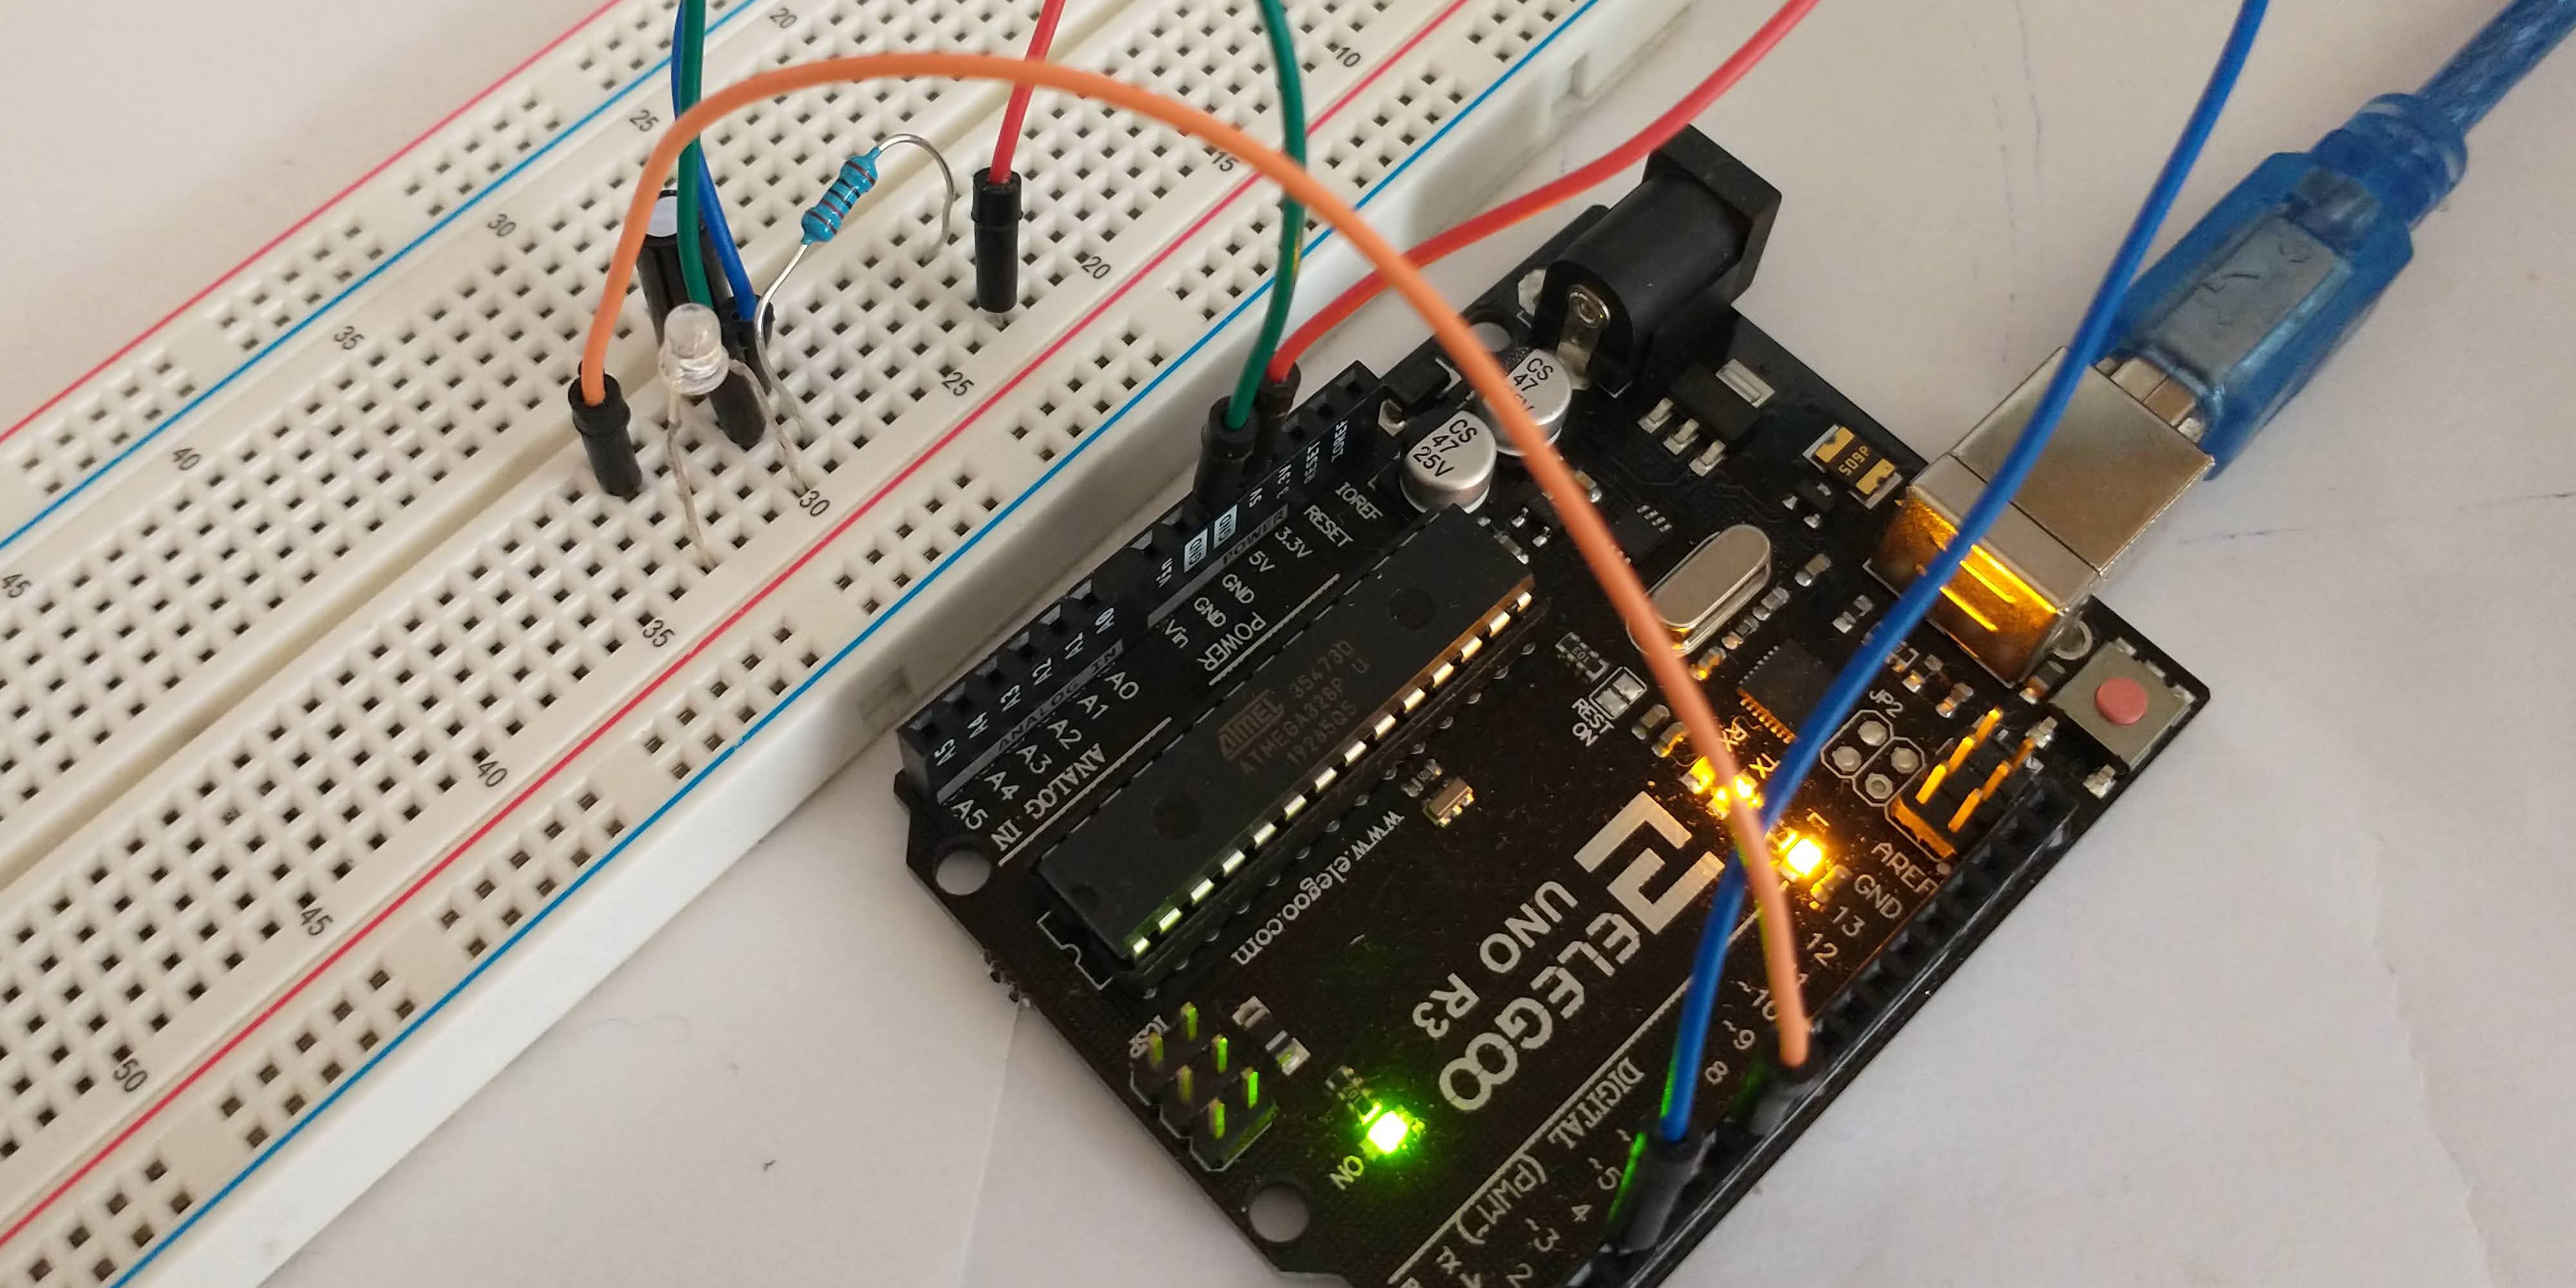
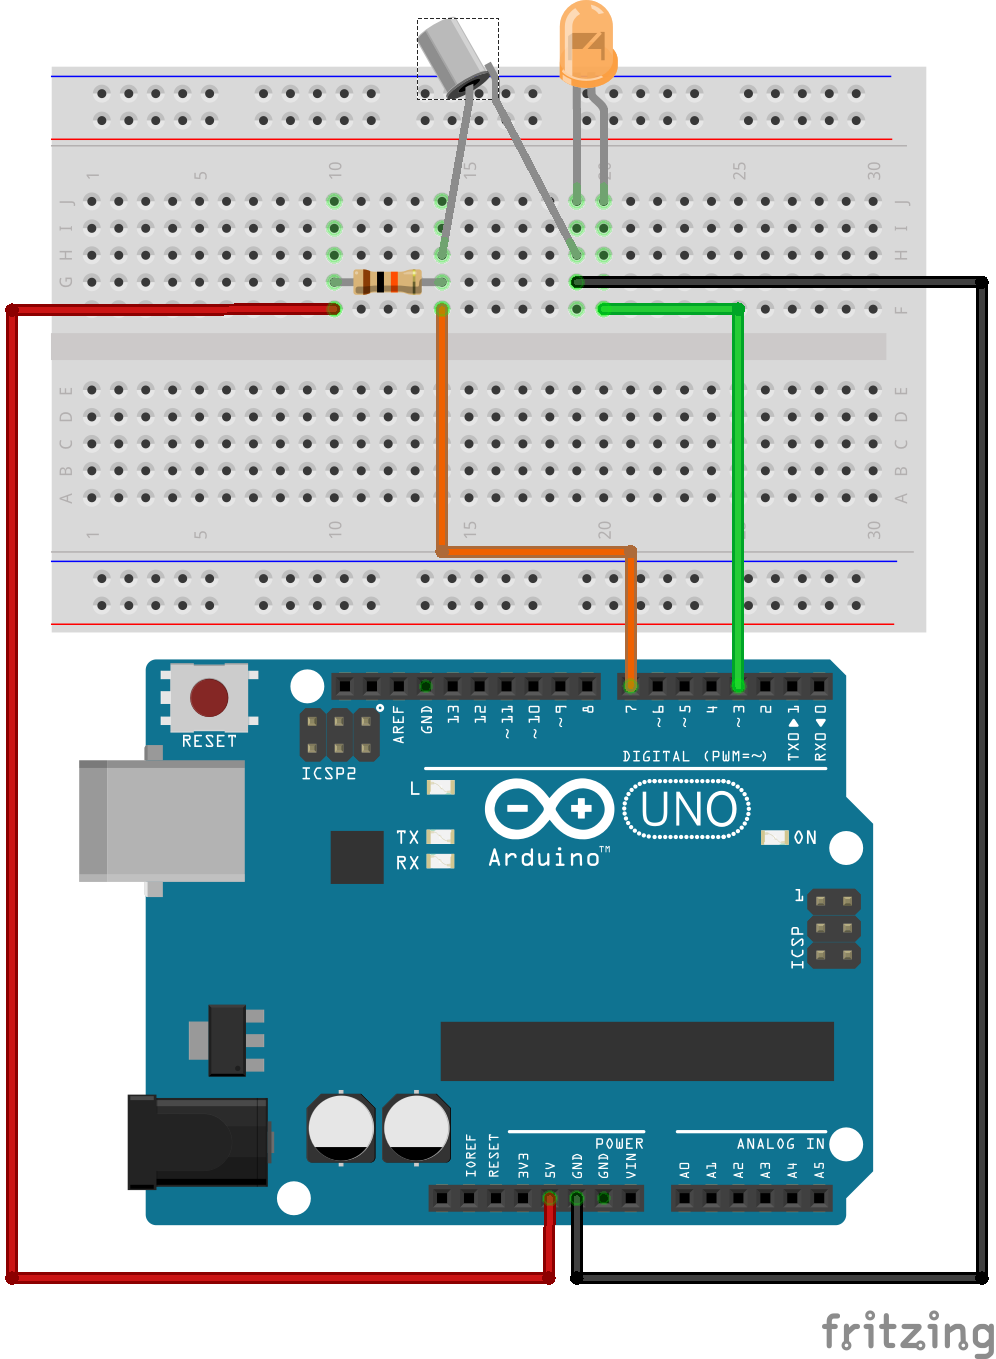
Circuit Diagram
Processing Code
This code is pretty simple. It sends a “1” to the Serial port if a mouse is clicked, otherwise it sends a “0”. It also listens for incoming data on the Serial port. If it detects a “1” the background is black, if the data is not a “1” the background is yellow.
import processing.serial.*;
Serial serialObject;

String serialValue;

void setup() {
  size(600, 600);
  serialObject = new Serial(this, Serial.list()[3], 9600);
  serialObject.bufferUntil(10);
}

void draw() {
  /* The serialValue is a String containing
   *  a single digit. We need that to be a char
   *  so we grab the character at index 0 (the
   *  first position of a character in the String. */
  if (serialValue.charAt(0) == '1') {
    background(20);
  } else {
    background(200, 189, 46);
  }

  if (mousePressed == true) {
    serialObject.write("1");
  } else {
    serialObject.write("0");
  }
}

void serialEvent(Serial p) {
  serialValue = p.readString();
}
The only new bit of code here is the serialValue.charAt(0). Remember, the data coming from the Serial port are of type String. Comparing the data from the serial port to a string like so serialValue == "1" doesn’t work, but taking the first character (type char) of the String and comparing that to a char == '1' (notice the single quotes not double) does work.
Arduino Code
This code is also simple. The tilt switch is just a basic switch. It is activated when tilted. On the inside, little balls connect or not depending on how it is tilted, and this open and closes the switch. We use a 10K Ohm resistor as a pick-up resistor. Without the resistor, the Arduino would read the value of the pin inconsistently due to ambient electrical frequencies from other electronics and the Arduino itself. The resistor “forces” the off state to be off.
char val;
int tiltPin = 3;
int ledPin = 7;


void setup() {
  Serial.begin(9600);
  pinMode(tiltPin, INPUT);
  pinMode(ledPin, OUTPUT);
}

void loop() {
  Serial.println(digitalRead(tiltPin));

  if (Serial.available() ) {
    val = Serial.read();
  }

  if (val == '1') {
    digitalWrite(ledPin, HIGH);
  } else {
    digitalWrite(ledPin, LOW);
  }

  delay(10);
}